Section Notes
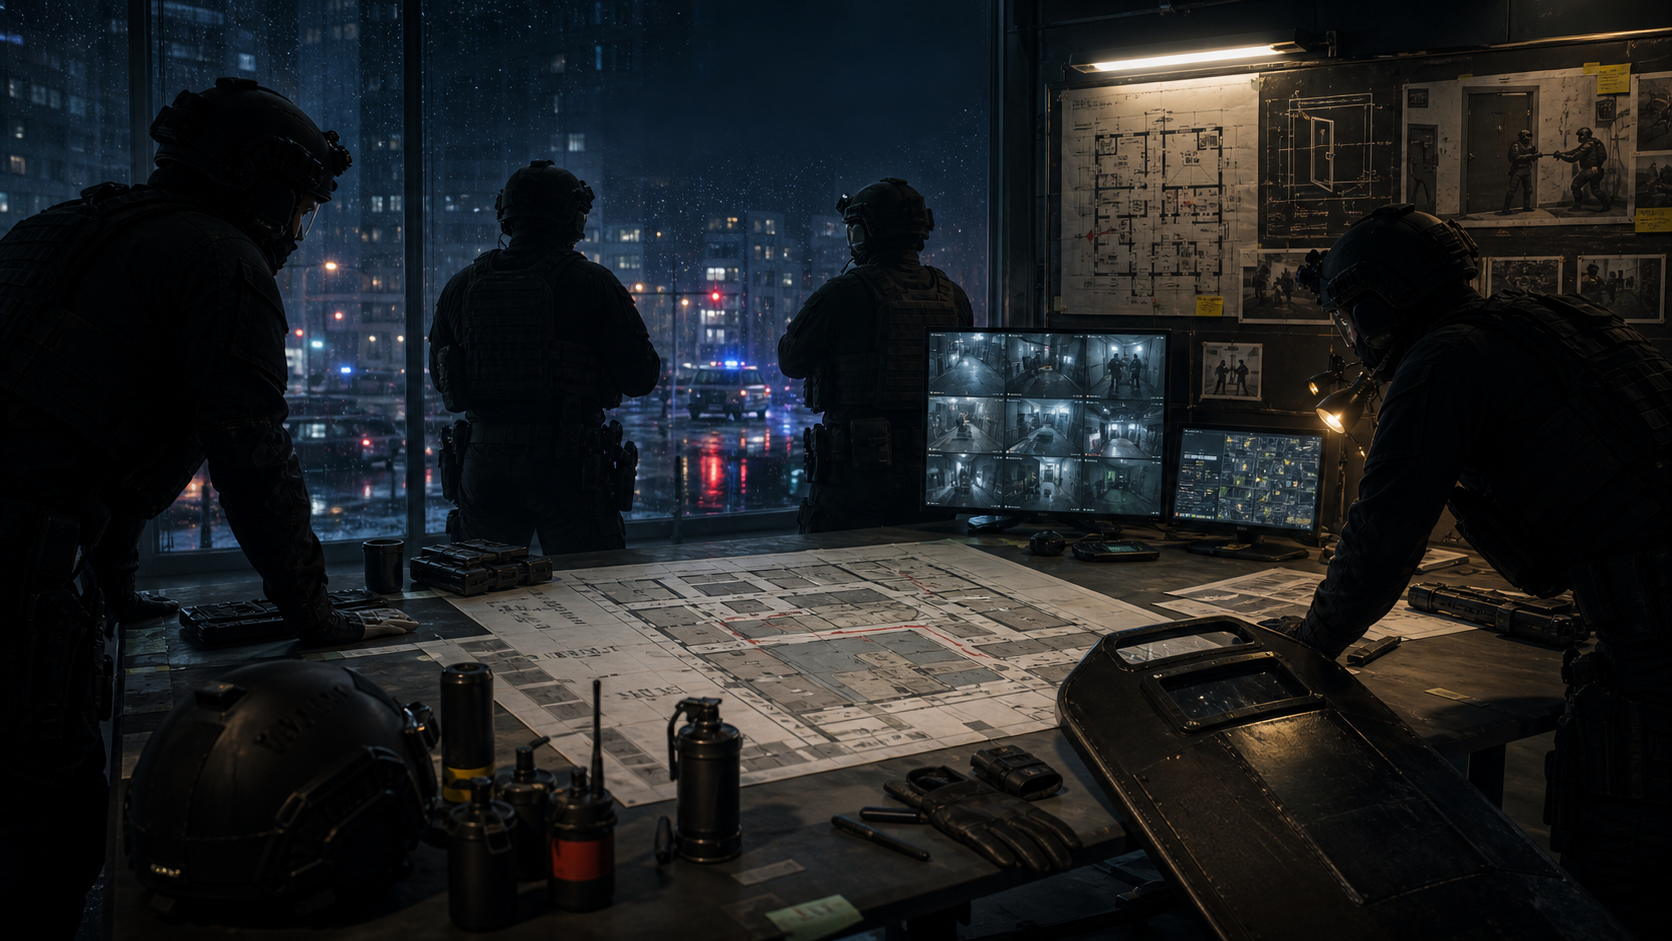
Most failed clears begin at the first doorway. This hub handles door discipline before positioning and fire control.
Start Here
- Ready or Not Door Stack Discipline: At the door, check mirror, wedge, commands, and crossfire before stacking four players in one line.
- Ready or Not Mirror Gun Checklist: Mirror checks should confirm contacts, weapons, traps, civilians, and entry direction instead of a quick glance.
- Ready or Not Door Wedge Control Route: Wedges reduce rear threats and escape paths so the team handles one direction at a time.
- Ready or Not Door Trap Safety Flow: Treat suspicious doors with slow open, mirror, or alternate entry; confirm teammate spacing before breaching.
- Ready or Not Ram vs Breaching Shotgun: The ram is stable but close; the breaching shotgun works from safer spacing. Choose by doorway risk.
- Ready or Not When to Use Quiet Lockpicking: Quiet lockpicking preserves initiative when contacts and hostages are unclear, but someone must cover angles.
- Ready or Not Flashbang Timing Guide: Flashbangs are not door animations; check room size, bounce angle, and entry order first.
- Ready or Not Long Hallway Crossfire Control: Long halls need segmented movement, shields, and clean angles so teammates do not aim through each other.
- Ready or Not Stairs and Vertical Clearing: Stair clears start with vertical sight control while the second player handles side doors and corners.
How To Use This Hub
| Problem | Start with |
|---|---|
| First time on a mission | Read the route, then loadout and scoring pages |
| Repeated score drops | Check evidence, reports, and force penalties |
| Co-op confusion | Split shield, breacher, restraint, and evidence roles |
| S-rank attempts | Keep every suspect and civilian properly handled |